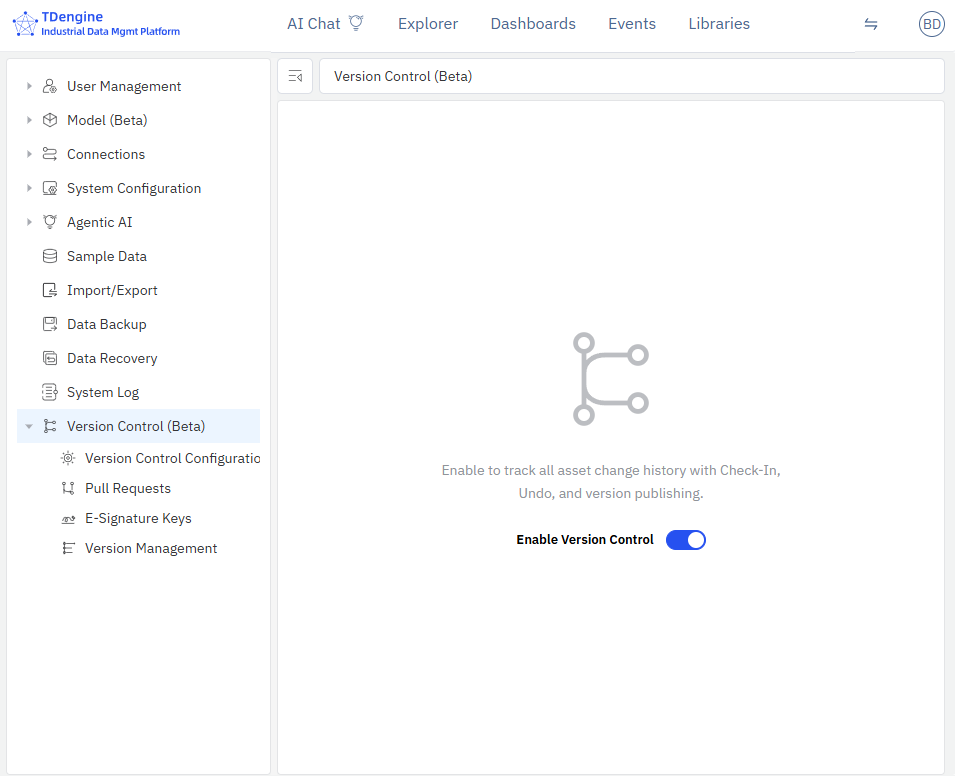
14.11.5 GPG Key Management
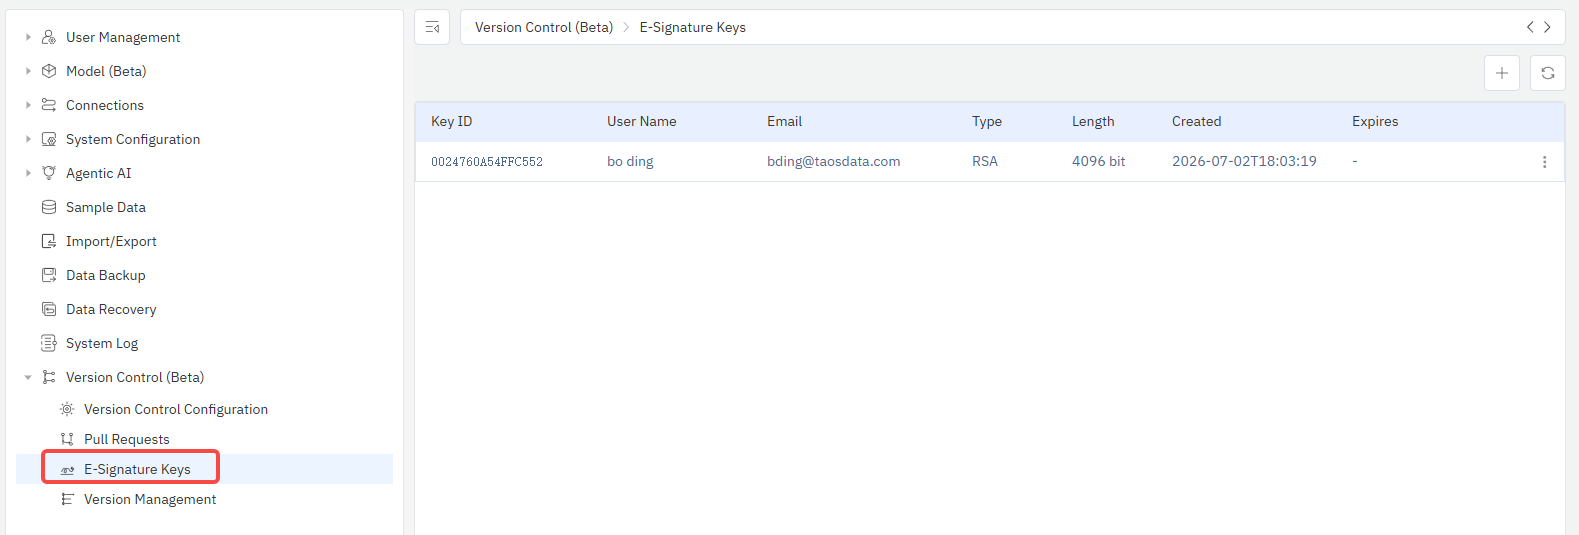
In E-Signature mode, all commits require GPG key signing. Administrators manage GPG keys on the Management Console → Version Control → E-Signature Keys page.
What is GPG Electronic Signature?
GPG (GNU Privacy Guard) is an electronic signature technology based on asymmetric encryption. In version control:
- Each Check-In automatically signs the commit using the user's GPG private key
- The Git server verifies the signature using the corresponding public key
- Signed commits appear with a "Verified" badge in Git history
- Meets electronic signature requirements of regulations such as FDA 21 CFR Part 11
Generating GPG Keys
1. Go to the Key Management Page
Click Management Console → Version Control → E-Signature Keys in the left menu.
2. Click the Generate Button
Click the + button in the top-right corner to open the Generate Key dialog.
3. Select User and Email
- Search for and select the target user in the Select User dropdown
- The Email Address field will auto-fill with the user's email
- A warning will appear if the user already has a key
4. Set Expiration
Choose the key expiration period: Never, 1 year, 2 years, or 3 years.
5. Generate
Click the Generate button. The system will generate an RSA 4096-bit key pair in the background.
Viewing and Copying the Public Key
After key generation, the user needs to configure the corresponding public key in GitLab/GitHub.
- Click the user avatar in the top-right corner → select the menu item with the email address to open the Profile Settings dialog
- Switch to the Git tab
- Click Copy Public Key in the GPG Public Key section
- Paste the public key into GitLab/GitHub's GPG Keys settings:
- GitLab: User Settings → GPG Keys
- GitHub: Settings → SSH and GPG keys
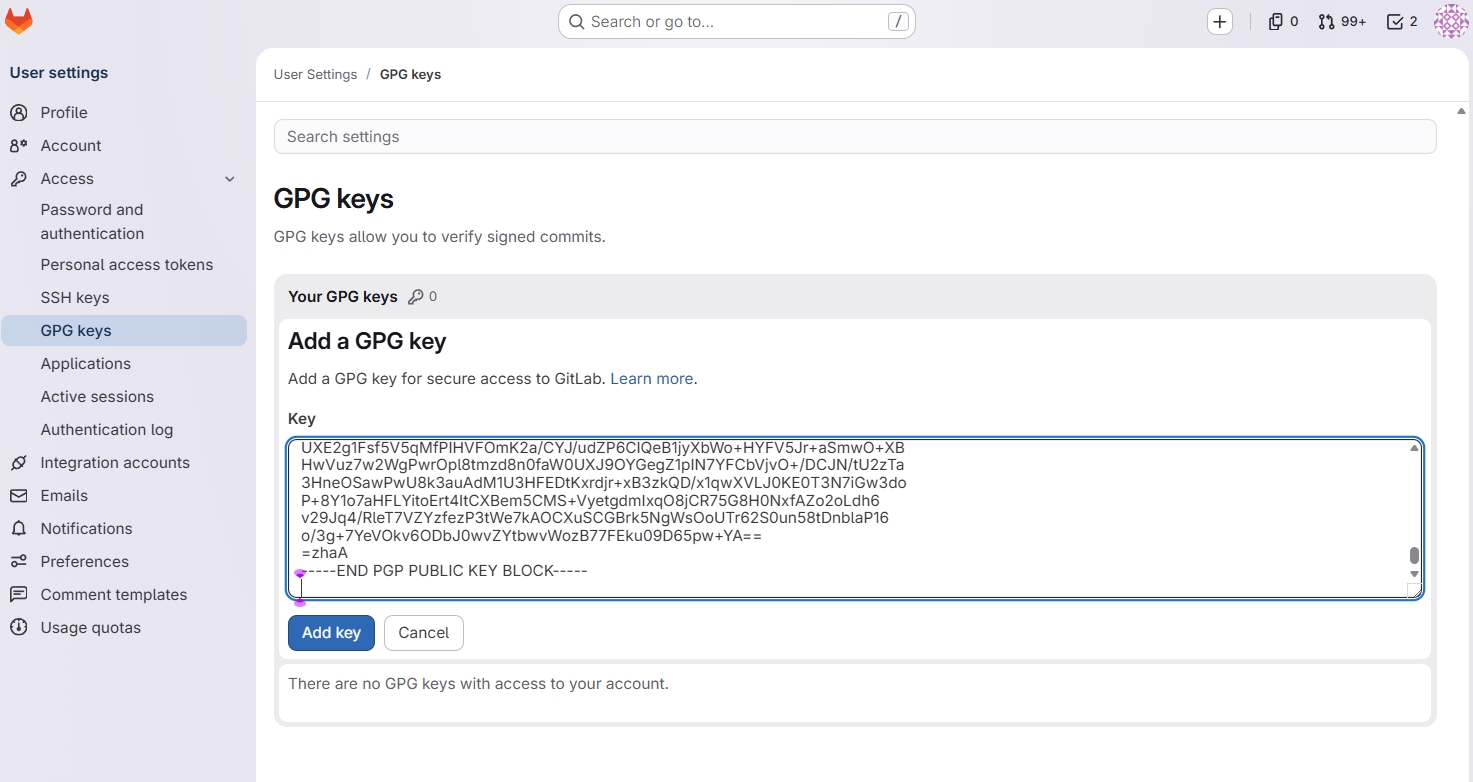
Users can also view and copy their own GPG public key in Profile Settings → Git tab.
Verifying GPG Configuration
After configuring the GPG public key on GitLab/GitHub, users can click the Verify Configuration button in Profile Settings to check whether the GPG configuration on the remote Git service is correct.
Deleting Keys
After deleting a key, historical commits signed with that key will become unverifiable. Proceed with caution.
- In the key list, click Delete on the key row
- Confirm the delete operation
Key List
The key list displays the following information:
| Column | Description |
|---|---|
| Key ID | Last 16 characters of the GPG key fingerprint |
| Username | User the key belongs to |
| Email address associated with the key | |
| Type | Key algorithm type (RSA) |
| Length | Key length (4096 bit) |
| Created | Key generation time |
| Expires | Key expiration time (empty means never expires) |
Commit Workflow in E-Signature Mode
After configuring GPG keys, in E-Signature mode:
- User clicks Check-In on the change list page
- Fills in the reason for change
- System automatically signs the commit with the GPG key
- The check-in dialog displays "This commit will be automatically signed with GPG e-signature"
- After submission, the commit appears with a "Verified" badge in GitLab/GitHub